Here’s an article on how to connect your jet web application to Metamk Mobile Application:
Connecting Metamask Wallet to React web application
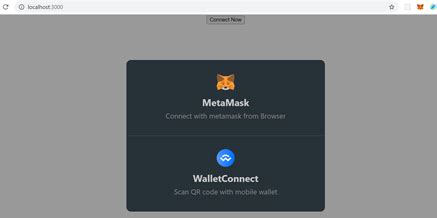
In this manual, we will introduce you to the process of connecting your web application to the Metamask Wallet, allowing users to safely manage their Ethereum accounts and interact with your app.
Step 1: Create Metamask Extension
Before connecting the web application to Metamass, you need to create an extension for both Android and iOS devices. This will allow users to access your app directly from the browser or mobile device.
To create a Metamask extension:
- Go to the Metamask Site ([ Chrome)
- Click “Create an extension”
- Select “Android” as a platform and click “Next”
- Complete your name, e -past and password
- Set your Google Chrome account (Android)
- Upload the manifest file to register your extension
- Post your extension for public use
For iOS:
- Go to the App Store (iPhone or iPad) and look for “Metamk”
- Tap “Get” to download and install Metamas on your device
- Open Metamask and tap “Add Extension”
- Do the same actions as above to register your extension
Step 2: Integrate with your REACT web application
Once you have created a Metamask extension, you can now integrate it with your reactive web application. This will allow users to access Metamk directly from the browser or mobile device.
To do this:
- ReAct app in the “Index.JS
Import Metamask Library and Configure it:
JSX
Import {metamk} from “Web3-Reatr”;
Const Metamkprovider = ({account} => {
Const [account, setaccount] = usestate (account || ”);
return (
Ref = {MetamScref}
Type = “Module”
Id = “REACT-METAMSK-CLENT”
async config = {{accounts: []}}
Accounts = {[]} // here you will configure Metamka so your app can access specific accounts
InjectScripts = {() => {}} // Choices: Inject scripts and styles from the Metamask Library
/>
);
};
`
In this example, we import the “Metamask” library and define the component of the service provider that wraps our response app. We hand over the account massive “account” prop, which will configure Metamask so that your app can access these specific accounts.
Step 3: Connect to Metamass
You will need to use its web API to connect to Metamass. At this place, things are getting interesting – we can’t directly call Metamask’s features from our React application, because it requires a separate browser tab or window to interact with the extension.
You will need to connect to Metamass:
- In your file
index.jsImport the Web3 Library and create a Web3 service provider’s case:
`JSX
Import Web3 from Web3;
Const Web3 = New Web3 (new window.ethereum));
`
Then use the service provider to directly call Metamask functions. For example:
`JSX
Import {metamk} from ‘React-Metamk-Client’;
Const Metamkprovider = ({account} => {
Const [account, setaccount] = usestate (account || ”);
return (
Ref = {MetamScref}
Type = “Module”
Id = “REACT-METAMSK-CLENT”
async config = {{accounts: []}}
Accounts = {[]} // here you will configure Metamka so your app can access specific accounts
InjectScripts = {() => {}} // Choices: Inject scripts and styles from the Metamask Library
/>
);
};
`
To connect to Metamass, we transfer the accounts of the accounts to the prop. We can also configure Metamask settings using its web API.